The People’s Repeater
A $35 Solar Mesh Node Anyone Can Build – by Black Flag Civilian
ABSTRACT: “My goal is to get Meshcore and Meshtastic into actual neighborhoods, where ordinary people can build their own off-grid, encrypted text messaging infrastructure.” – Black Flag Civilian
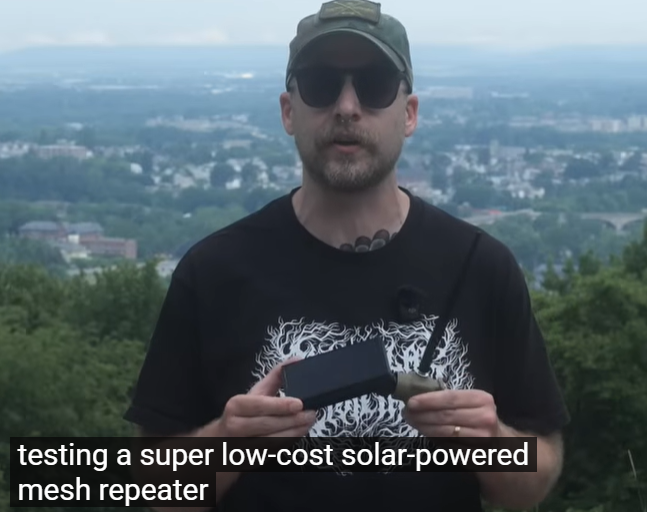
“Black Flag Civilian provides a comprehensive, step-by-step guide on constructing a low-cost, solar-powered mesh repeater for encrypted text messaging networks. The tutorial covers component assembly, weatherproofing techniques, and software configuration to help individuals expand local communication infrastructure using affordable parts….. continue”
LINKS: YouTube Video | Black Flag Civilian | Support & Connect with BFC |
Other Low Costs DIY* Projects & Testing
AI OVERVIEW:
The “People’s Repeater” by Black Flag Civilian is a highly affordable, weatherproof, solar-powered LoRa mesh repeater designed to expand Meshtastic or MeshCore communication networks into neighborhoods. It allows ordinary people to build off-grid, encrypted text messaging networks without relying on cell towers or commercial internet. [1, 2, 3]
For a look at the repeater build, practical range testing, and to see how it performs in simulated severe storms:
How to Build It
The build utilizes inexpensive, repurposed parts and 3D-printed components, bringing the total cost to around $\$35$. [1, 4]
- Core Hardware • Meshtastic Board: A power-efficient Nordic-based board (like the RAK Wireless WisBlock) is highly recommended over ESP32 boards because it draws less power, making it easier to keep charged via solar.
- Power Source: Instead of buying expensive standalone enclosures, the design uses parts harvested from a $\approx\$10$ Harbor Breeze solar garden light (found at stores like Lowe’s).
- Battery & Solar Panel: Use an upgraded $18650$ battery with an integrated protection circuit to prevent the device from entering a “brownout” state after a full discharge. [5]
- Enclosure & Mounting • 3D Printed Mounts: You can download the free STL files (including the “People’s Repeater Hub” and “Mount”) directly from Printables.
- Assembly: The hub holds the SMA antenna bulkhead and secures to the solar/battery housing to create a water-resistant seal. The mount allows you to easily attach the node to flat surfaces (via screws) or to poles/antenna masts (via zip-ties). [1, 4]
- Software Configuration • Firmware Flashing: Connect the node to your computer and navigate to the Meshtastic Flasher using a Chrome-based browser.
- Node Roles: Flash the firmware, and be sure to configure the radio settings for your local geographic region (e.g., US 915 MHz). In highly populated or dense residential areas, some community users recommend setting the node role to Client rather than a designated “Repeater” unless you have positioned the node very high up (e.g., on a roof or tower). [7, 8, 9]
*DIY Do It Yourself Projects “Use at Your Own Risk” (see DIY Disclaimer)
Warning: Lithium battery projects carry fire risks. Read our full disclaimer before building.
All information, instructions, and projects shared on this site are for educational and informational purposes only. Use of this site constitutes agreement and understanding of Terms & Conditions.



Leave a Reply